

https://www.patreon.com/posts/procedural-in-98710238
Hey Y'all. Here are the files for the latest video on youtube. Thank you for your support!
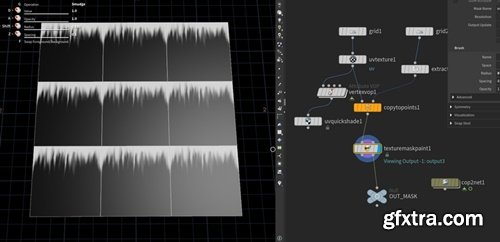
https://www.patreon.com/posts/tileable-texture-98792781
In case you missed, I uploaded a 60sec short on youtube on how to paint tileable textures in houdini. I also attached the file. Cheers!


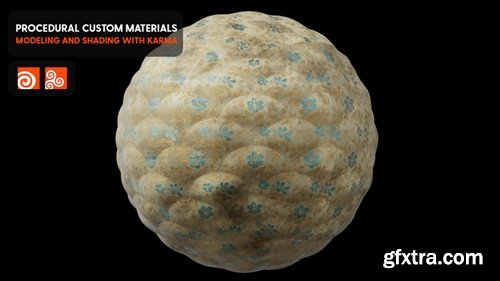
https://www.patreon.com/posts/custom-materials-99161313
Hey Y'all. Here are the project files from my latest video on youtube. Enjoy and thank you!
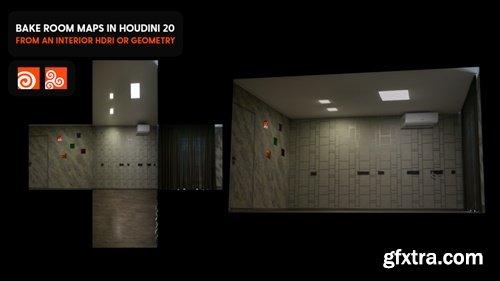
https://www.patreon.com/posts/bake-room-maps-99354919
Hey Y'all, here are the files from the latest video on youtube. Thank you!
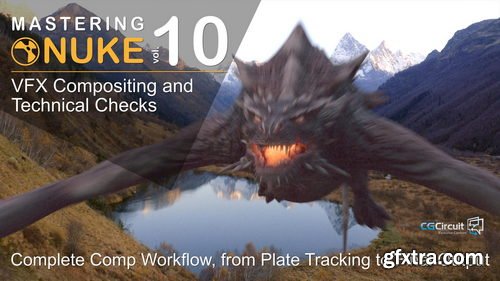
- In this online course, you’ll go through all the essential steps of CG integration, and shot finishing as performed in most of the VFX studios.
- From preparing the plate for comp work, Tracking, Painting, integrating a CG creature, all over up to doing the final technical checks and output proper DI-mattes for final Editing and color grading.
- This course will give you a deep understanding of the compositing workflow and how to check a shot before delivery. I worked in many prestigious VFX studios, and no matter the project, those finalizing steps are more than essentials.
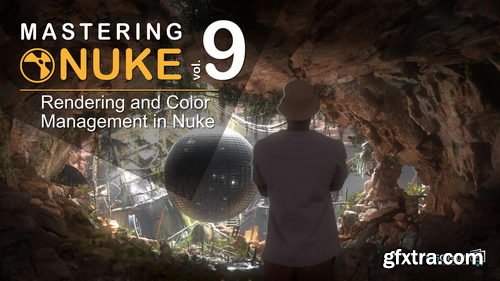
- In this online course, you will go in-depth into colors and rendering in Nuke. What are LUTs? How to use ACES? How can I optimize my comp workflow while speeding up my renderings? This will allow you to understand how to work faster, maintain quality, and color accuracy through the different steps of your VFX and CG pipeline.
- At the end of this course, You’ll be able to work faster in Nuke and maintain quality and color accuracy.
- I’m Florian Girardot, a senior visual effect artist specialized in Compositing. I’ve been working in the movie industry for more than 10 years and this entire curriculum is based on both my professional and teaching experiences.

Removing spots, wrinkles, smoothing skins, changing eyes colors, add face tattoos, you name it, we can do it!
We will discover great techniques and great tools, such as keen tools to easily build CG faces and track them to then be able to make make-up magic!
As the other courses from this Nuke master class series, you will achieve a great shot, from beginning to end, that will illustrate all the professionals techniques that you’ll learn.
At the end of this course, you’ll be confident modifying any faces, and you’ll have the basics of digital make-up.
I’m Florian Girardot. I’m a senior visual effect artist specialized in Compositing. I’ve been working in the movie industry for more than 10 years.
This entire curriculum is based on both my professional and teaching experiences.
In this first chapter, We’ll see how to build the CG face within Nuke by Using keenTools, and how to track the face.

There are a few other tutorials out there showing you how to use deep in nuke, but they barely tell you how to use it properly within your comp workflow. If you don't use the proper techniques, comping deep passes can be very difficult, heavy and frustrating. In this course, you’ll learn how to optimize your deep comp.


Rotoing, tracking, painting could seem a bit fastidious, but with the rights tools and the right workflow, you’ll see that it is actually not that hard, and even pretty enjoyable!

As the other courses from this Nuke master class, you will achieve a great shot that will illustrate all the professionals techniques that you’ll learn. Those tips and tricks I’m about to share with you are part of my everyday toolbox as a senior compositing artist, and I’m using them with any CG renders.


Welcome to Pyrofluid – Master the Elements In this course we harness the power of Houdini to move data between different solvers to have a pyro explosion morph into a fluid simulation. We’ll start by exploring how to develop an effect like this in a simple scene, then we start building the environment, develop the look of our sim and add all of the additional elements requires before we move over to lighting, shading and compositing it.

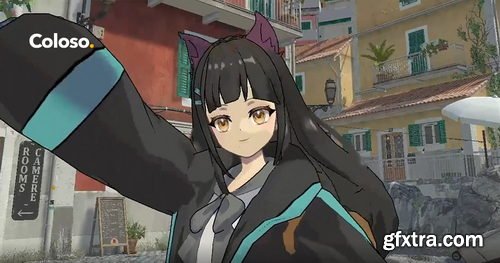
- Rika, the creator of Enya Akemi from Nonoru's class on Coloso Japan and many other popular 3D avatars, will be the instructor to guide you through everything from conceptualizing the character to translating ideas into a 3D model that can be used in a variety of ways inside the 3D universe. While mastering each of the steps in 3D modeling, texturing, rigging, and setting up for various 3D applications, you'll gain a comprehensive understanding of the 3D avatar creation process and the numerous applications.
- The techniques taught in this class are highly versatile and will open doors to diverse opportunities such as VTubing, VR meetups, live streaming, and more. The main purpose of this class is not only to create a 3D VTuber character but also to create a 3D model that can be used and applied to a variety of 3D applications that exist online nowadays. Giving you the utmost advantage to explore and make use of the advancements in technology, such as full body tracking features.
- While mastering each of the steps in 3D modeling, texturing, rigging, and setting up for various 3D applications, you'll gain a comprehensive understanding of the 3D avatar creation process and the numerous applications.
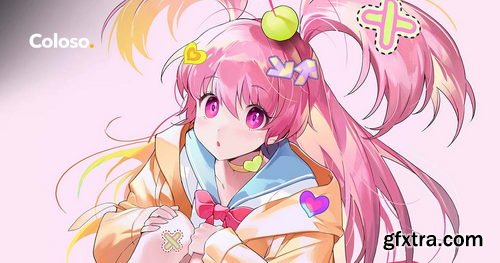
- "Illustrations that convey the concept and mood solely through their poses and colors. You can create one as well."
- Popular instructor and illustrator Seoji, known for helping students transform their ever-changing drawing styles into a one-of-a-kind stylized character illustration style, is back with her second online class!
- This class is for those of you who have mastered sketching with the right balance of simplification and exaggeration but want to delve into creating high-density illustrations with intricate details.
- Starting with an application of light and shadow stylization in an animated way based on references, you'll then advance to accentuating dynamic motion through lines, creating beautiful color schemes, and ultimately finishing with lively, three-dimensional characters that burst with vibrancy.
- Guidance will be provided on skillfully drawing character-optimized facial expressions, full-body poses, and even incorporating relevant props.
- An 8-week course on compositing for feature film, animation, and 3D techniques using Nuke
- Nuke Compositing for 3D artists is the perfect course for anyone who works with 3D renders. This includes lighting artist, and FX artists that want to composite and put the final touches on their shots and elements. This is also the perfect course for anyone that works with 2D images, whether you shoot your own footage and want to integrate other elements into your footage, or just want to put the final touches on your footage such as grading, adding flares and post camera moves. Not only do we cover basics of Nuke, we will cover many of Nuke’s powerful features such as Nuke’s 3D system and Nuke’s Particle system. By the end of the course, you will be able to start a shot and take it to the finish line with confidence. If you’ve ever wanted to experience what a post production workflow of a compositor is in the VFX industry, this course will replicate that production workflow. You will learn and train your eyes to pay careful attention to details along with organization skills to maintain a clean workflow. You will learn how to manage your time and handle critique. Students will finish the course with the confidence to composite on an animated feature or a live-action feature. *NOTE: Students enrolled in this course are eligible for a short term 6 month student Production Collective license. Download the syllabus for more information
- We were often asked to translate some courses into English or any other language as requested. Our team decides to do whatever we can to satisfy our users' needs. However, to confirm what we had heard and what we are going to do is actually valued, we would like to see and get support from all of you. We'll appreciate your support that helps us decide. Just click and purchase, let us know support from you!
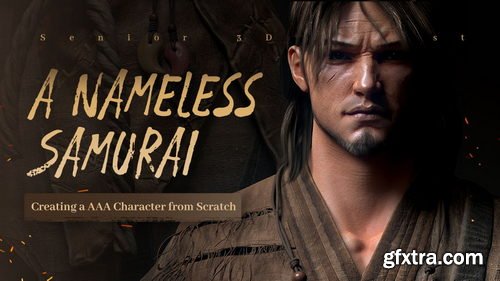
- Content: HD videos + Project files
- Duration: About 35 hours
- Software: Maya2018; ZBrush; Marvelous Designer; GS Curve Tool; Substance Painter;
- Topogun3; Marmoset Toolbag 4; Substance Designer
- System: No limitation
- Project file: Zbrush brushes;Texturing Reference; Material files for hair; Base mesh.

Is there a trick of learning lighting and rendering? Why the lighting and rendering you make looks unnatural? Why other people’s lighting and rendering is better than yours? This tutorial starts from 4 completely different cases with cinematic effects, and let you master the underlying principles of lighting and the rules of lighting and rendering in the real life, before you simulate light with the software. Besides detailed explanation of advanced nodes of Maya Arnold, this tutorial contains many design theories and artistic composition knowledge. In the same time, you can flexibly use the knowledge you learned, and make the rendering effect you want easily after this tutorial.
126,000 Royalty-Free 3D Model
Udemy Türkçe


Top Rated News
- CreativeLive Tutorial Collections
- Fasttracktutorials Course
- Chaos Cosmos Library
- MRMockup - Mockup Bundle
- Finding North Photography
- Sean Archer
- John Gress Photography
- Motion Science
- AwTeaches
- Learn Squared
- PhotoWhoa
- Houdini-Course
- Photigy
- August Dering Photography
- StudioGuti
- Creatoom
- Creature Art Teacher
- Creator Foundry
- Patreon Collections
- Udemy - Turkce
- BigFilms
- Jerry Ghionis
- ACIDBITE
- BigMediumSmall
- Globe Plants
- Unleashed Education
- The School of Photography
- Visual Education
- LeartesStudios - Cosmos
- Fxphd
- All Veer Fancy Collection!
- All OJO Images
- All ZZVe Vectors
- CGTrader 1 CGTrader 2


