

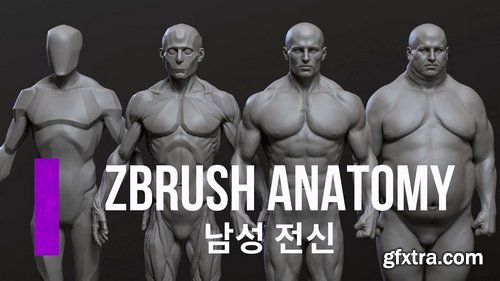
- Immerse yourself in the fascinating world of macramé with this specialization, covering everything from the basics to the most advanced techniques. Start by mastering essential and advanced knots to build a solid foundation. Then, explore the potential of macramé by combining it with other textile techniques, such as weaving and punch needle, to create unique and textured pieces. Learn from experts like Belén Senra, Daniela Chiñas, Larissa Melendez, and AMARENA.
- As you progress, you'll have the opportunity to create custom fashion accessories and garments using natural fibers for a sustainable approach. Imagine designing and crafting tapestries, bags, and garments that reflect your style, applying everything you've learned. With the guidance of these talented instructors, you'll develop practical skills that will allow you to integrate creativity and technique, taking your projects to the next level. This specialization gives you the tools you need to transform the art of macramé into a contemporary form of expression.
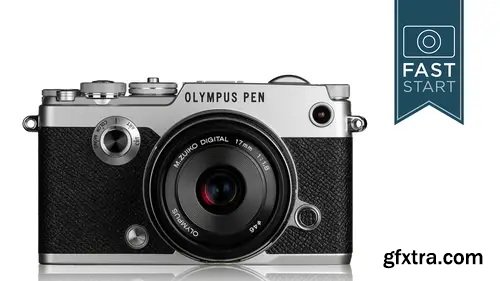
- We know what it’s like to dive right into taking pictures with your new camera. But dense technical manuals make for a terrible first date. Get the most out of your new Olympus PEN-F with this complete step-by-step walkthrough of the camera’s features. Join expert photographer John Greengo for a fast-track introduction, and unlock your camera’s full potential. In this class you'll learn: How to use the electronic viewfinder, How to take advantage of the customizable interface, How to use the video options
- John is a CreativeLive veteran instructor and an experienced photographer. He has extensive experience teaching the technical minutiae that makes any camera an effective tool: aperture, ISO, the Rule of Thirds, and the kinds of lenses you’ll need to suit your camera body. This Fast Start includes a complete breakdown of your camera’s exposure, focus, metering, video and more. John will also explain how to customize the PEN-F’s settings to work for your style of photography.
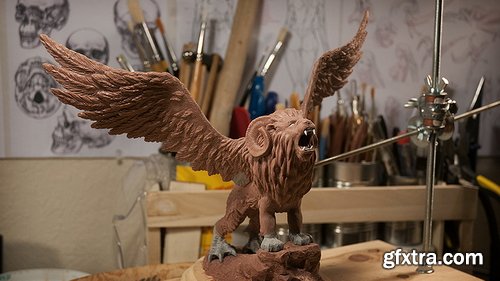
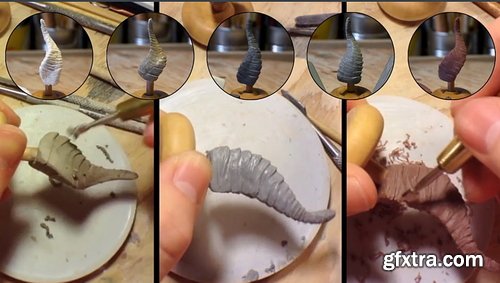
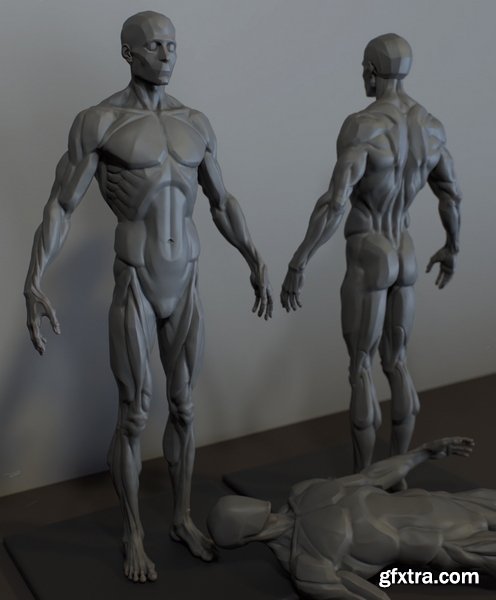
- Immerse yourself in the captivating world of clay sculpting, where I'll be your guide. Together, we'll delve into the nuances of various sculpting mediums, understanding their advantages and limitations, ensuring you make informed choices for your own creations.
- I'm eager to share tips, showcase essential tools, and even guide you on crafting tailor-made tools perfect for your projects.
- In our sessions, we'll explore the world of wire armatures, unraveling their significance and application. Furthermore, we'll dive into the intricacies of molds, helping you discern the best types for preserving your clay masterpieces. And to ensure you're thoroughly equipped, we'll embark on a concise journey into materials science, demystifying the terms and technologies behind molding rubbers and casting materials.
- By the end of this sculpting class, you'll be adept at interpreting and utilizing the materials required for your sculpting adventures.


This class is perfect for a beginner or intermediate photographer looking to shoot and produce photos quickly and on a budget.


This video goes over how to create or replace reflections on a building with a simple technique. The liquify tool is extremely useful for when creating distortions like reflections in windows or water.
It's sometimes time consuming, but hey, that's matte painting! And if you want your artwork to look realistic, you'll want to pay attention to these things and spend the time.

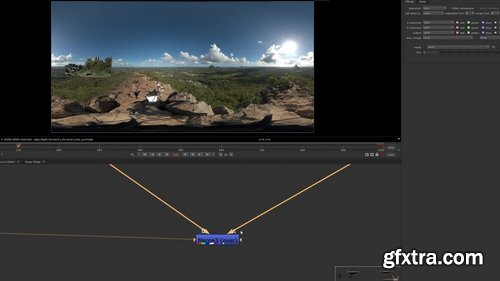
Learn how to convert a 360 spherical image into a flat image you can paint over in Photoshop!
This technique is very common in VFX pipelines as it allows the matte painting department to work on entire sequences at once, using a single matte painting. Understanding the process of how to "unproject" a skydome while including the foreground plate is something usually only mastered by Mid-level and Senior-level artists, so being familiar with this technique will put you well ahead of the curve when a VFX opportunity comes your way.


Mixinglight - How To Use The Sapphire S_Ultraglow OpenFX
https://mixinglight.com/color-grading-tutorials/sapphire-s_ultraglow-overview-borisfx/
In Part 2 of Jason Bowdach's series on glow effects, get a close look at the Sapphire S_UltraGlow and the additional options it offers.

126,000 Royalty-Free 3D Model
Udemy Türkçe


Top Rated News
- CreativeLive Tutorial Collections
- Fasttracktutorials Course
- Chaos Cosmos Library
- MRMockup - Mockup Bundle
- Finding North Photography
- Sean Archer
- John Gress Photography
- Motion Science
- AwTeaches
- Learn Squared
- PhotoWhoa
- Houdini-Course
- Photigy
- August Dering Photography
- StudioGuti
- Creatoom
- Creature Art Teacher
- Creator Foundry
- Patreon Collections
- Udemy - Turkce
- BigFilms
- Jerry Ghionis
- ACIDBITE
- BigMediumSmall
- Globe Plants
- Unleashed Education
- The School of Photography
- Visual Education
- LeartesStudios - Cosmos
- Fxphd
- All Veer Fancy Collection!
- All OJO Images
- All ZZVe Vectors
- CGTrader 1 CGTrader 2


