
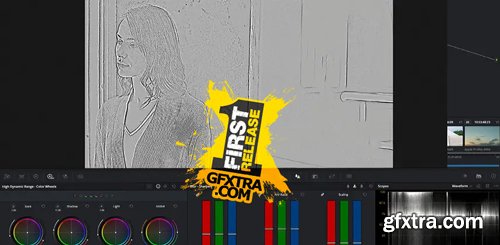
In my previous Insight in this series, you learned about the concept of texture control & management. In Part 2 of this series we start talking about node based color management and working on the L channel of the Lab color space. Our goal is to overcome the color artifacts created by RGB sharpening (a type of chromatic abberation). Though briefly mentioned in this video, this is a point worth elaborating upon: Sharpening and manipulating textures on the L channel is a well established practice coming from still photography practices and dating back to the late 90’s-early 2000’s. Dan Margulis’s 2005 influential book “Photoshop LAB Color: The Canyon Conundrum and Other Adventures in the Most Powerful Colorspace” (try to find a first edition ) helped entrench this technique. Lab is an interesting color space – also known as CIELAB or L*a*b. It’s a perceptual color space (mimicking our visual system) and its gamut matches the entire gamut of human photopic (daylight) vision. Here’s how Wikipedia describes Lab’s L channel: ‘L’ is calculated using the cube root of the relative luminance with an offset near black. This results in an effective power curve with an exponent of approximately 0.43 which represents the human eye’s response to light under daylight (photopic) conditions. Lab’s two color channels A (Red Green) and B (Blue Yellow) are based on the opponent color model of human vision and represent the 4 perceptual “Pure Hues”. Lab’s design gives it advantages in image manipulation that can be leveraged in countless workflows, not just texture work. Why the L channel and why Lab? Why not the V channel in HSV (or L in HSL)? This is a long answer that will be elaborated more upon as the series continues. Lets just say for now that: We will dive deeper into all these concepts as this series progresses. You will learn how Lab’s especially handy when we start constructing our oun node trees and tools. We are puting the Sharpen and Midtone Detail tools to work, seeing what they do and how you can use them with actual images. This Insight starts with the basic Sharpen tool and compares it to the popular Midtone Detail slider (found on both the Primaries and HDR palettes). Then, we compare both operations to performing them on the L channel in LAB colorspace.
Texture Management Part 2: Selectively Using Sharpen, Midtone Detail, and LAB (using DaVinci Resolve)
Digging Deeper on L*a*b
In this Insight
Learning Goals
Related Mixing Light Insights


126,000 Royalty-Free 3D Model

Udemy Türkçe


Top Rated News
- CreativeLive Tutorial Collections
- Fasttracktutorials Course
- Chaos Cosmos Library
- MRMockup - Mockup Bundle
- Finding North Photography
- Sean Archer
- John Gress Photography
- Motion Science
- AwTeaches
- Learn Squared
- PhotoWhoa
- Houdini-Course
- Photigy
- August Dering Photography
- StudioGuti
- Creatoom
- Creature Art Teacher
- Creator Foundry
- Patreon Collections
- Udemy - Turkce
- BigFilms
- Jerry Ghionis
- ACIDBITE
- BigMediumSmall
- Globe Plants
- Unleashed Education
- The School of Photography
- Visual Education
- LeartesStudios - Cosmos
- Fxphd
- All Veer Fancy Collection!
- All OJO Images
- All ZZVe Vectors
- CGTrader 1 CGTrader 2


