
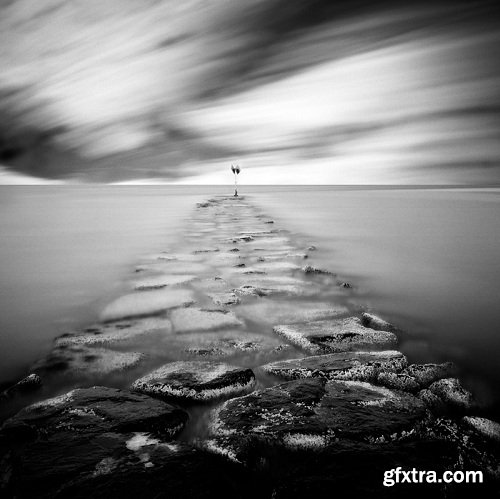
In this class I will teach you how to blur elements in your photos using a long exposure. I will be using water as the moving element, but you can apply this skill to blur any moving element. I will be using a DSLR camera in this class.
Step-by-step professional photoshop retouching tutorial
In this One Light Setups section Karl puts theory into practice with the most basic of lighting setups. Using just one light, Karl demonstrates how to get creative and what you can do with a single light source.
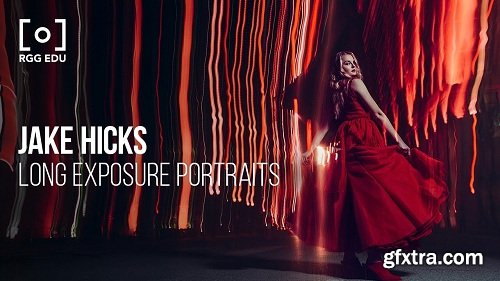
Every day new and exciting images are competing for our attention. Famed UK photographer, Jake Hicks returns to RGG EDU teaching a fundamentally simple yet powerful technique to create long exposure portraits impossible to ignore. Combining ambient light with studio strobes, Jake introduces four unique methods of creating portraits while capturing unbelievable practical effects in-camera. This tutorial was designed to teach you not just the technical aspects of long exposure photography but how to be truly creative in the studio and experiment in ways that will set your work apart from the rest.
Backlight can be a difficult setup to retouch depending on how much fill light you have on your subject, or if there’s not enough light in certain areas. Pratik takes us through how to account for these variables as well as working with creases and bulges in clothing.
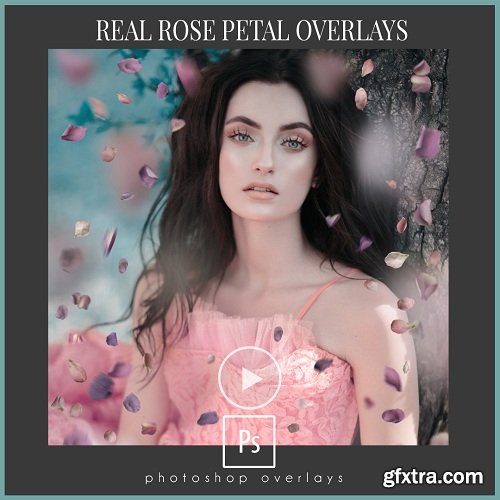
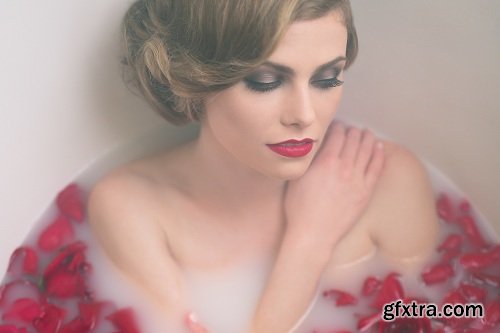
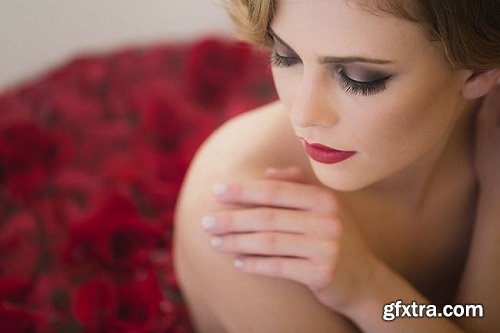
Amanda Diaz Photography - Real Rose Petal Overlays + Tutorial
https://amandadiaz.com/product/rose-petal-overlays/
Beautiful and dreamy. Adding a soft and romantic feel to your portraits. Tons of REAL petals to work with. Add as many or as little as you like. Comes with a quick and to the point video tutorial showing you exactly how to use them. Set your images apart from others by adding a sense of romance and character to your work.
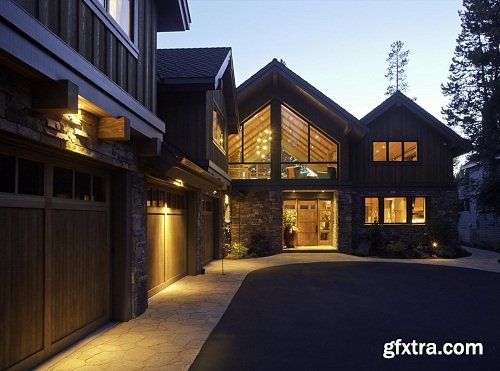
This program is for photographers interested in Architecture and Real estate photography and consists of 8 courses covering many aspects of photographing properties.
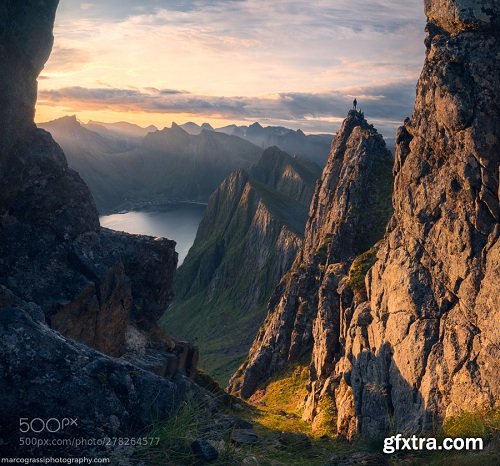
Marco Grassi teaches you how to recognize the different types of light you'll encounter when shooting landscapes.
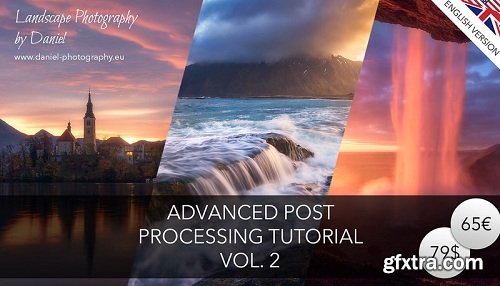
This is my advanced post processing tutorial vol. 2 where I show you how I process three of my favourite "moody" Images which are shown above. These kind of photos are often tough to handle but my workflow will help you to bump up your shots to the next level. The techniques are quite advanced but the videos are easy to follow along. You will get more than three hours of high end video content about my entire digital workflow from start to finish. All the files are included. Some of the techniques are:
Give your images and extra boost with our handmade, custom textures.
Learn to incorporate all 5 of our paper texture categories with all types of photography, including:
- Wedding Photography
- Landscape Photography
- Commercial Photography
- Street Photography

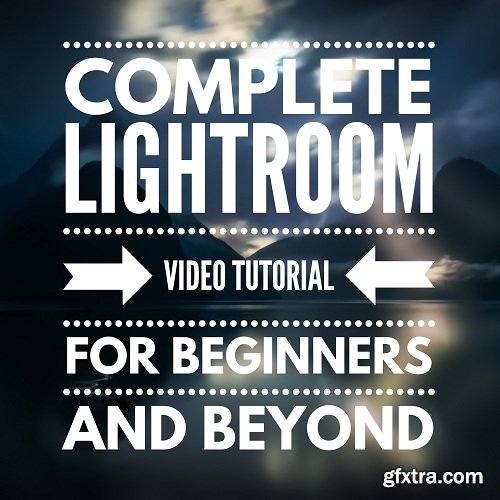
Lightroom is awesome and fun! It's hard for me to think of a program that I enjoy using more than Lightroom! Not only is it great for organizing your photos, but you can do incredible things to make your photos look amaze-maze! (Plus now that Apple is discontinuing Aperture it is the perfect time to switch!)
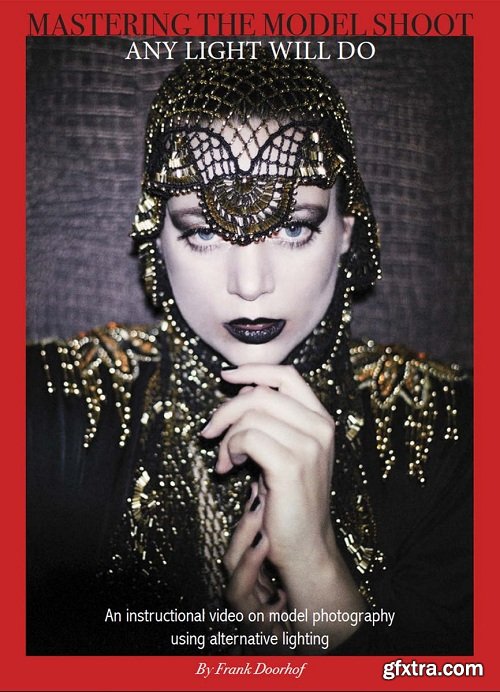
Frank taught countless workshops and released several instructional videos but this might be the most important one. The first thing people always ask him is "what gear did you use"? Of course most of the time we shoot with strobes, sunlight, reflectors etc. But in essence you can say that "Any light will do" He strongly believes that as long as there is light you can create images. In short, you don't need expensive gear to create stunning images or tell your story. That's why in this video he shows you a lot of tips and tricks how you can shoot with light sources that you normally probably never would have though off. What about : Smartphone lighting, a led flash light, Christmas lights, a tungsten lightbulb and even a chandelier. But he also shows you how to be creative with existing light sources like a ring light, Lume cubes, a DIY Fresnel with speed lights and even an icelight. This video is filled to the brink with cool ideas that will trigger your creativity, but most of all proves once and for all that "any light will do" Runtime over 85 minutes, including retouching
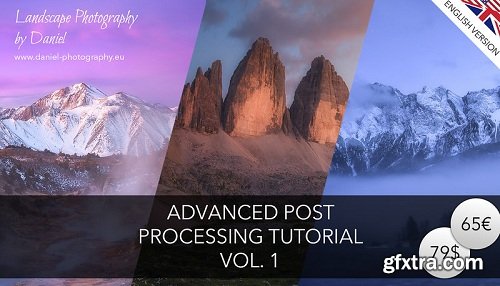
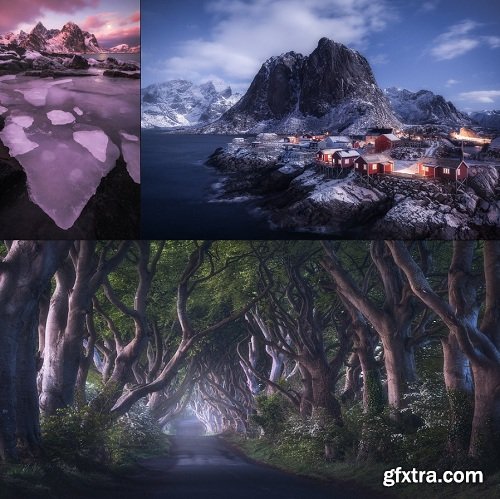
This is my advanced post processing tutorial vol. 1! Here I show you how I process some of my favourite Images which are shown above. The techniques are quite advanced but the videos are easy to follow along. You will get almost three hours of high end video content about my digital workflow from start to finish. All the files are included. Some of the techniques are:
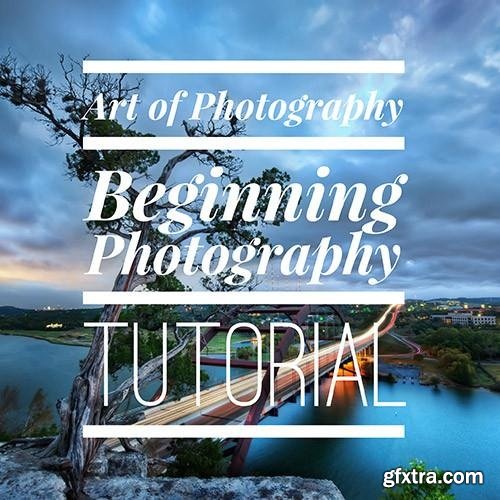
In this series, you will learn photography in a whole new way!
I've spoken with thousands of people who -- despite the beginner or even intermediate courses they've taken -- are still confused about the basic elements of photography. So I developed my own style of teaching based on an artist's natural instincts of curiosity and discovery which quickly produces dramatic results.
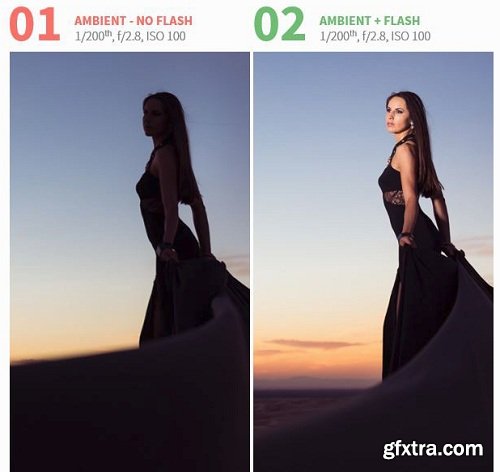
To understand how to balance for a dramatic effect, let’s quickly go over the basics of balancing for natural effect. In summary, for a natural effect we make our ambient light brighter and use less flash power on our subjects. This creates an image where the evidence of flash looks so minimal that it almost looks like we only reflected natural light; and that is the goal for natural effect. To create a dramatic effect we need to do the exact opposite. We darken down our ambient light and brighten up the flash power.
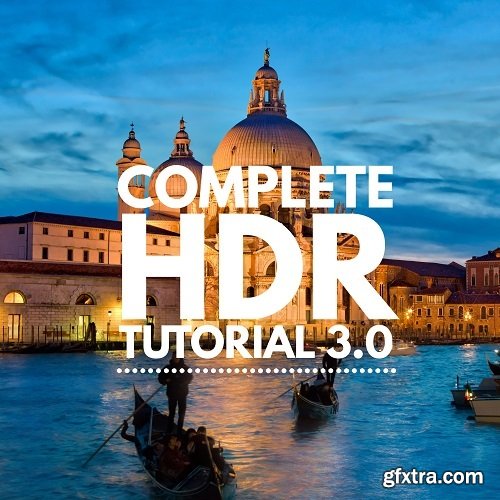
This entirely new HDR tutorial is perfect for Beginners to Mega Advanced professionals who want to see all of my latest post-processing techniques using Aurora HDR. I think you’ll love it! It’s honestly the highest-quality set of videos we’ve ever made.
No matter if you're shooting with a Canon 5D Mark III or a Canon Rebel, create beautifully professional boudoir images without having to break the bank.
Get an in depth look on the post production aspect of fine art boudoir images. Go through all the steps of RAW image processing in Lightroom as well as a complete step-by-step of the retouching process for two full images in Photoshop so that your final images can be ready for enlargement.
A lot of people have asked me about my retouching techniques so I thought the best thing to do would be to just record myself retouching one of my own images and explaining the many different stages of the process. My apologies in advance, because this is a very long video, but it really does show you everything I do so that you can apply the same techniques to your projects. I have also included some presets and goodies to play with so that you can start retouching your own pictures in no time.
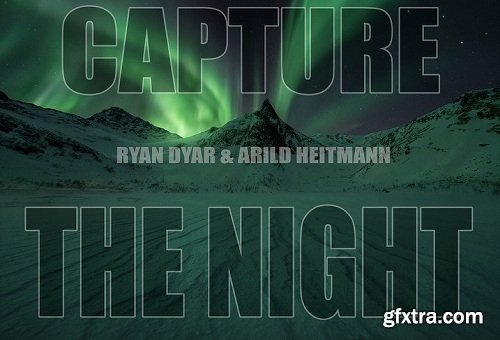
One of the few topics I have yet to cover in my instructional series, night photography! For this latest video I teamed up with my great friend and master of all things involving the Aurora Borealis, Arild Heitmann.
In this special two-part bundle we cover almost every aspect of night photography. My video goes into thorough detail about my theory for what makes a great composition in these dark scenes, the three different ways I capture my images at night, and the various techniques used to process photos taken after the sun goes down!
You cannot do visual effects without them, they are everywhere. A green screen or blue screen would look totally amateur and utterly useless without them. They are a must, they make possible the matching of the movement of the camera with the movement in the background, to incorporate 3D elments. If your camera will move in a green screen, you need tracking markers. But after they've done their work, you need to remove them. How you do that? I will show you.

Wedding Workshop 1 or 8 (See 8 Part System)
Book Clients and Guarantee an Incredible Experience
9 Hours of HD Video Instruction
Comprehensive PDF Slides
Email Templates, Timeline Guides, & Equipment Checklist

This course will walk you through everything you need to know to get started with iPhone Photography and much more! By the end of this course, you'll have a strong understanding of how to capture great iPhone photos and edit them professionally.

In this Video I show you my entire post processing workflow from start to finish. Step by step I will guide you through my techniques based on the picture "Spring Flood". I will also cover how you organize your workflow. The goal is to be non destructive so you can always readjust your images later. This picture is one of my favourites and thats one of the reasons why I chose it to demonstrate you my workflow. The techniques are advanced so first expierences with masks and a basic knowledge about post processing is necessary.
126,000 Royalty-Free 3D Model

Udemy Türkçe


Top Rated News
- CreativeLive Tutorial Collections
- Fasttracktutorials Course
- Chaos Cosmos Library
- MRMockup - Mockup Bundle
- Finding North Photography
- Sean Archer
- John Gress Photography
- Motion Science
- AwTeaches
- Learn Squared
- PhotoWhoa
- Houdini-Course
- Photigy
- August Dering Photography
- StudioGuti
- Creatoom
- Creature Art Teacher
- Creator Foundry
- Patreon Collections
- Udemy - Turkce
- BigFilms
- Jerry Ghionis
- ACIDBITE
- BigMediumSmall
- Globe Plants
- Unleashed Education
- The School of Photography
- Visual Education
- LeartesStudios - Cosmos
- Fxphd
- All Veer Fancy Collection!
- All OJO Images
- All ZZVe Vectors
- CGTrader 1 CGTrader 2


